
OK, it’s official – I’m going a bit overboard with the Halloween theme – and am going to do individual treat bags. This isn’t the first year we’ve done bags, but those weren’t nearly as cute as these. I brought the idea to Dean and showed him how sweet they are, get it “sweet” – so I’m over doing puns too haha. He thinks they’re great, so this year instead of doing regular bags or tossing the candy into a bowl, everyone will get a broom bag filled with goodies.
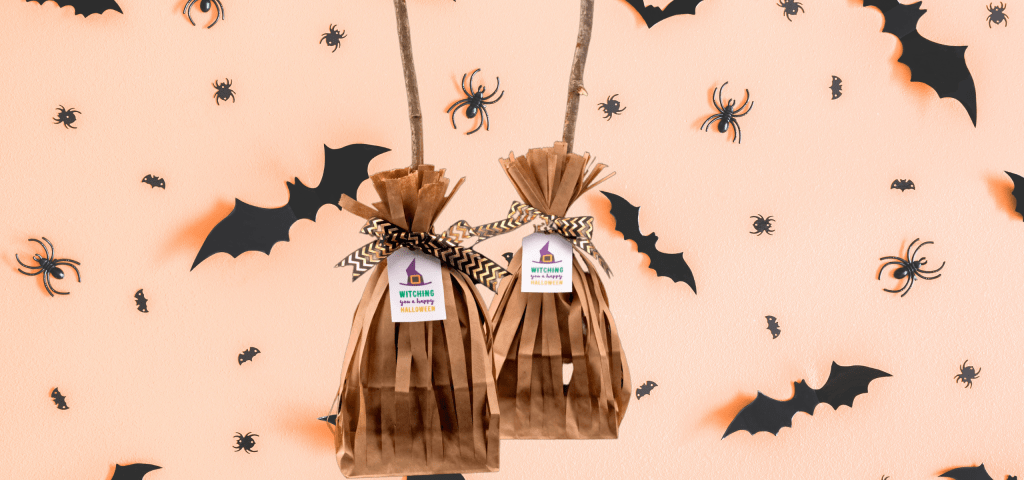
Here is all you need to do to transform little brown lunch bags into magical witch’s brooms.
You will need the following materials for each bag you create:
- Brown lunch bags – it takes 2 bags to make 1 treat bag
- Broomstick – use a halloween pencil, tree stick, or festive item
- Scissors
- Twine – I’m using Halloween ribbon
- Tags – Printable tags, however I ordered Halloween tags from Amazon
- Hole punch, if needed
- Treats and Favors to fill the bag
Directions:
Step 1. Take the first bag and cut thin vertical strips that end 1″ from the bottom. On the second bag cut vertical strips that are 4″ long from the top.
Step 2. Place bag 2 with the shorter strips inside the bag 1 with the longer strips.
Step 3. Fill the inside bag with the treats and favors and place the stick inside the bag, in the middle of the treats and favors.
Step 4. Using the hole punch, punch a hole at the top of the label. Thread the ribbon through the hole. Set aside.
Step 5. Gather up with long strips of the outer bag and leave about 3″ inches at the top and secure them with the ribbon by tying it around the bag and making a bow. Be sure to leave about 3 inches at the top.
