These are super easy to make, and you can use any candy you like. These are definitely a Halloween treat that won’t last long around your goblins and ghouls.
Makes 1 dozen
Ingredients:
3 tablespoons butter
4 cups mini marshmallows
6 cups rice krispies
½ cup Reese’s pieces
1/2 cup M & M’s
Instructions:
Melt butter in a large pot over medium heat. Add marshmallows, and stir until melted. Stir in rice krispies until combined and sticky. Remove from the heat, and add in Reese’s pieces and M&M’s — fold into krispies until combined.
Transfer mixture to a 13″ x 9″ baking dish, and let cool to room temperature before slicing and serving. Store in a container with a lid.
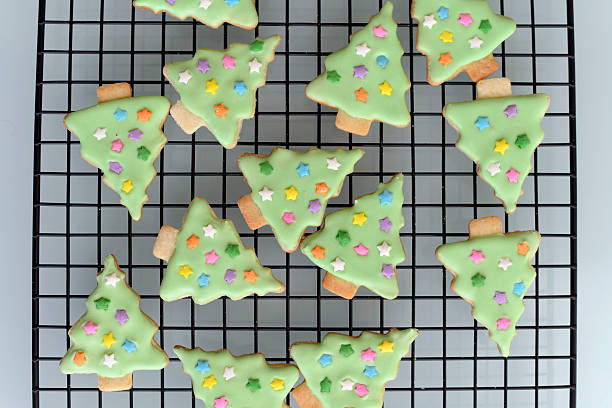
Nothing says the holidays are coming like spending a a day listening to music and baking treats. Here are some great tips for decorating sugar cookie with flood icing.
Ingredients
2 tablespoons Wilton® Color Flow Mix (or a brand you like)
¼ cup + 1 teaspoon water
4 cups confectioners sugar, sifted
Materials
Piping bags
Decorating couplers
Wilton® icing tips size 2, 3, or 4 (or a brand you like)
Rubber bands
Gel food coloring, colors of your choosing
Tip covers
Squeeze bottles with covers
To Prep
Prepare your piping bags with the couplers. Cut off a small tip of the bag, and remove the ring from the base of the coupler. Put the coupler base inside of the bag, and attach the desired tip size (2, 3, or 4) to the outside of the bag. Secure with the ring to lock the bag in place, and repeat with the remaining couplers and bags.
To Make Icing
Make the icing by beating all ingredients in stand mixer on low speed for about 5 minutes.
If using white, place some of the plain icing into one of the piping bags, and secure with a rubber band to maintain the consistency.
Take another small amount of white icing, dilute it slightly with small amounts of water until it flows easily, and place into squeeze bottles. (Tip: Make sure to keep icing covered with a damp cloth or paper towel to avoid crusting throughout the decorating process.)
For colored icing, separate the remaining white icing into different bowls, and add gel food coloring. Add water in 1/2 teaspoon increments until thin enough to spread easily.
Add the thinner, colored icing into squeeze bottles.
To Decorate
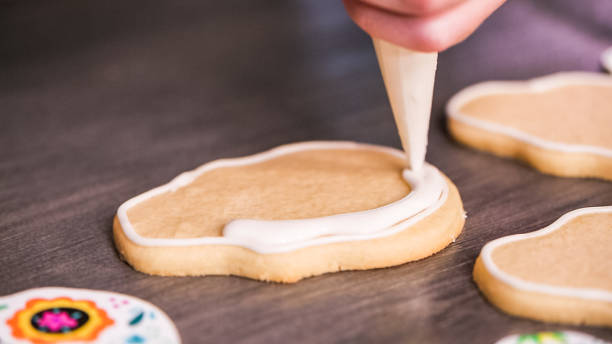
Make sure the cookies are cooled before you begin decorating, and then start outlining your cookies with chosen color from the piping bag.
Next, take the thinned icing from the squeeze bottles and squeeze into the inside of the cookie. Using a toothpick, spread around to make icing even. Allow the first layer to dry a minimum of 4 hours, preferably overnight.
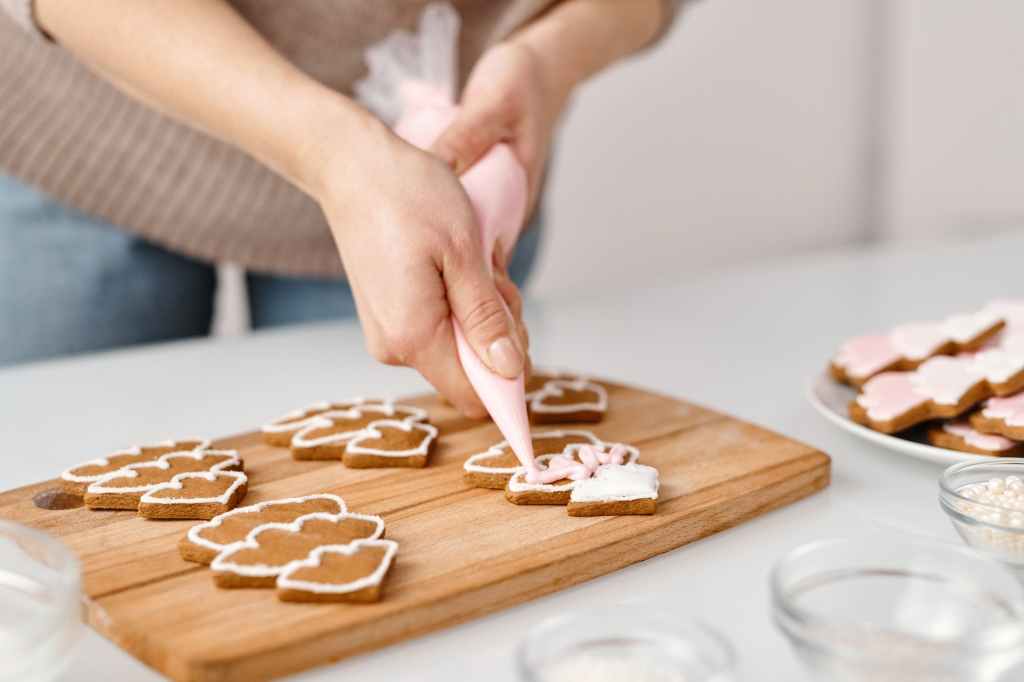
Once dry, add any additional designs on top of the first layer, using the same technique, or drawing on with the piping bag. Allow all new layers to harden overnight. (Tip: Always keep the piping bags covered when not in use.)
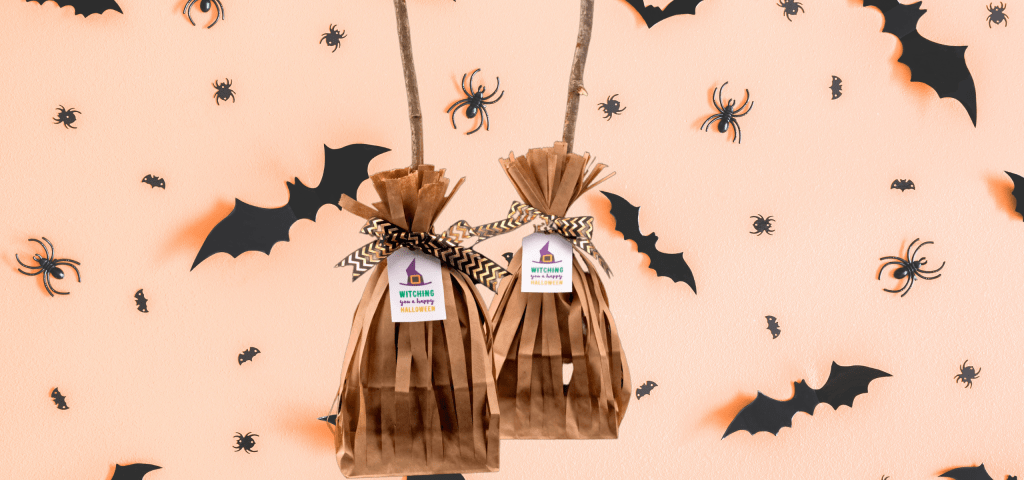
OK, it’s official – I’m going a bit overboard with the Halloween theme – and am going to do individual treat bags. This isn’t the first year we’ve done bags, but those weren’t nearly as cute as these. I brought the idea to Dean and showed him how sweet they are, get it “sweet” – so I’m over doing puns too haha. He thinks they’re great, so this year instead of doing regular bags or tossing the candy into a bowl, everyone will get a broom bag filled with goodies.
Here is all you need to do to transform little brown lunch bags into magical witch’s brooms.
You will need the following materials for each bag you create:
Brown lunch bags – it takes 2 bags to make 1 treat bag
Broomstick – use a halloween pencil, tree stick, or festive item
Scissors
Twine – I’m using Halloween ribbon
Tags – Printable tags, however I ordered Halloween tags from Amazon
Hole punch, if needed
Treats and Favors to fill the bag
Directions:
Step 1. Take the first bag and cut thin vertical strips that end 1″ from the bottom. On the second bag cut vertical strips that are 4″ long from the top.
Step 2. Place bag 2 with the shorter strips inside the bag 1 with the longer strips.
Step 3. Fill the inside bag with the treats and favors and place the stick inside the bag, in the middle of the treats and favors.
Step 4. Using the hole punch, punch a hole at the top of the label. Thread the ribbon through the hole. Set aside.
Step 5. Gather up with long strips of the outer bag and leave about 3″ inches at the top and secure them with the ribbon by tying it around the bag and making a bow. Be sure to leave about 3 inches at the top.