It’s November! The trees are all dressed in their multi-color fall foliage, and that means it is the kickoff to the holiday season. I’m excited to change to Fall porch decor, get ready for gatherings and just to enjoy the time spent with those we love. Happy November!
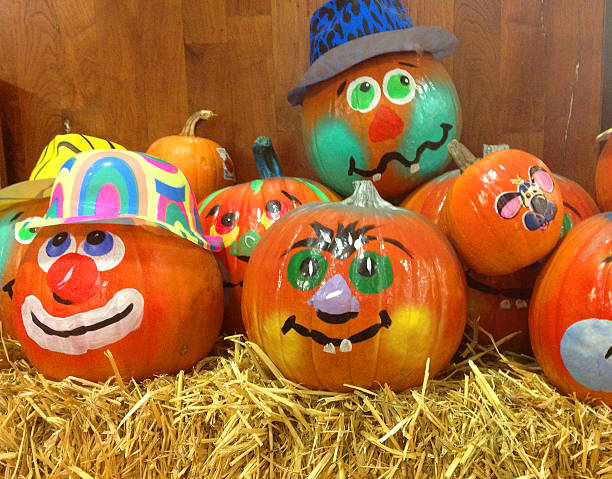
Painted pumpkins are the complete package! They have style, provide enjoyment for all ages, require no carving skills, and there are no slimy pumpkin innards involved.
Here’s what you will need:
Pumpkins, real or artificial, whatever size, shape or color you prefer.
Acrylic paint – choose colors you love.
Sharpee markers.
Painter’s tape.
Assorted painting tools like brushes, sponges, and don’t forget fingers are great tools too.
Something to put the paint on – paper plates work great.
Don’t skip coveringt the table. You can use a plastic tablecloth, craft paper, newspaper or whatever.
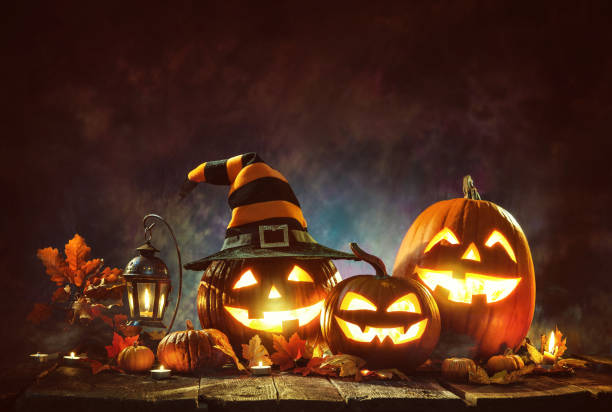
While most have their Halloween traditions, none seems more iconic, to me, than pumpkin carving. This annual ritual began in Europe and made its way to the United States in the late 1800s, and am I ever glad it did!
Handling pumpkins can be quite messy and pose maintenance challenges. So go ahead and indulge and use the five tips below to make your pumpkin carving adventure smoother, and maybe less messy.
Tip #1: Instead of carving from the top, try cutting an opening in the pumpkin’s bottom. This unconventional method yields a cleaner pumpkin design and simplifies the process of lighting it up. Just lift the pumpkin, place a battery operated push light on the ground and carefully replace the pumpkin over it.
Tip #2: Upgrade Your Scoop: If you’ve ever wrestled with stubborn pumpkin seeds and stringy innards, and complained there has to be a better way, there is! Use a sturdy metal ice cream scoop – it is much stronger than the flimsy plastic scoopers found in carving kits, making the task much easier.
Tip #3: Sketch with Finesse: Use a dry-erase marker when outlining your design. These markers are much easier to use than their permanent counterparts. Plus, when you are done cutting any of the residue can be wiped away with a baby wipe.
Tip #4: Reinforce with Toothpicks: Accidentally severing a piece of your pumpkin might make you give up, or feel like you ruined the design. Fear not! Use toothpicks to discreetly reconnect the sections.
Tip #5: Add a Dash of Spice: Spice up your pumpkin carving by dusting the interior with ground cinnamon. This not only infuses your creation with the delightful scents of autumn, but also keeps those little animals like squirrels from nibbling on your Halloween masterpiece.
Tip #6: To find templates you can search online for printable pumpkin templates.
Now you’re ready to kick-up your Halloween festitivities with some fun pumpkin carving. Be sure to share the outcome with me.