Cooking, Daily Happenings, Entertainment, Holidays

Charcueterie

There are some trends that go away, as they should; then there are those that turn into classics. I’m so glad charcuterie wasn’t just a trend, but stood the test of time, and is now a classic.

Choosing the serving piece for your ample treat is up to your personal style. I use a beautiful oversized white rectangle glass plate with slight edges and a swirl of silver through the middle. If I don’t feel like digging out the plate, then I use one of our cutting boards, and it is just as tasty and delightful.

For accessories I have a few cheese knives, appetizer forks and spoons along with some small bowls to hold some of the yummy additions to the board like jams, dips, olives and more.

Now that you know what to place it all on, what will you include?
#1 – Cheese

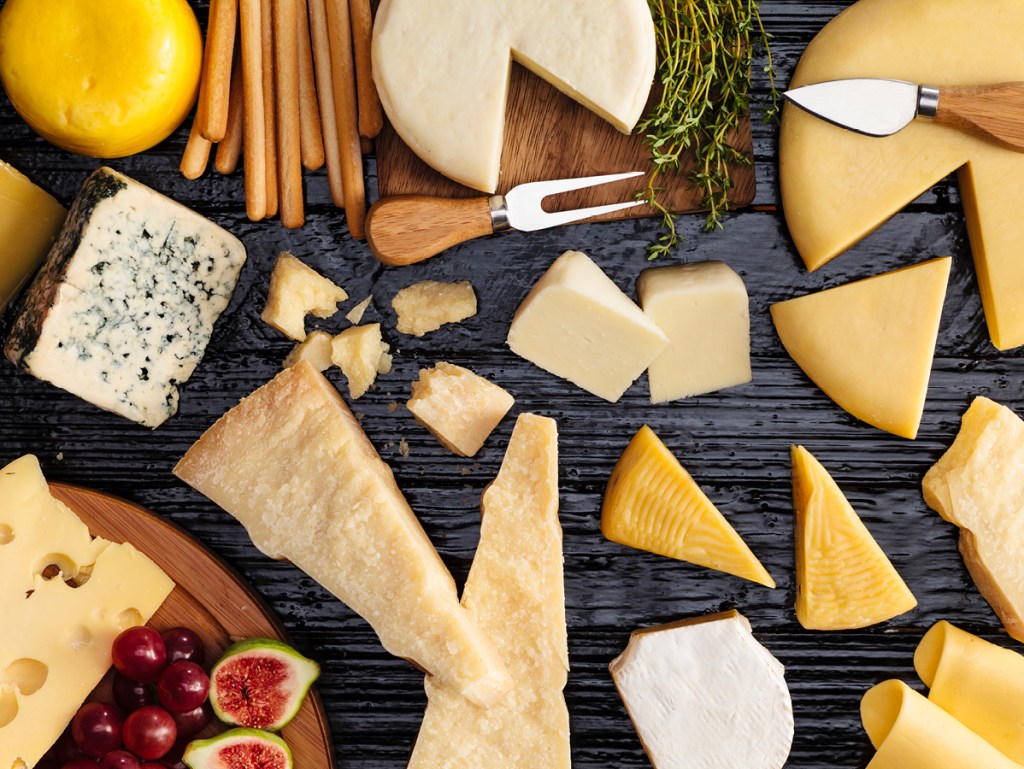
The centerpiece of my board will be the selection of cheeses. I think high quality cheeses are best and should vary from soft to hard. When using hard cheeses I slice them, and add the softer cheese as a block so they can be cut right on the board with one of the provided knives. I begin with a foundation cheese like provolone, white cheddar or Gouda. Then I include spreadable soft varieties such as burrata and brie. Plus there are those that crumble well like goat and bleu.

#2 – Meats

Having a mix of meats is just as important as cheeses. In our home we love prosciutto, capicola, and sopressata. We do have friends who are vegan and/or vegetarian and when sharing a board with them we skip the meat, or I’ll make two separate smaller boards so Dean can have his sopressata.
#3 – Accents

For me, this is the fun part of the board. This is where I get to shop for those little touches that add that extra something. I do have some items that always show up like Maille Cornichons (my fave), and St. Dalfour Royal Fig Fruit Spread (another fave). I then like to hit the olive bar at the grocery to get various olives, stuffed peppers and marinated artichoke hearts. Then I need to round out these salty briny treats with some sweet. For the sweet I like fresh grapes, berries, apple slices, carrot sticks or even dried fruits like cranberries, cherries or apricots.

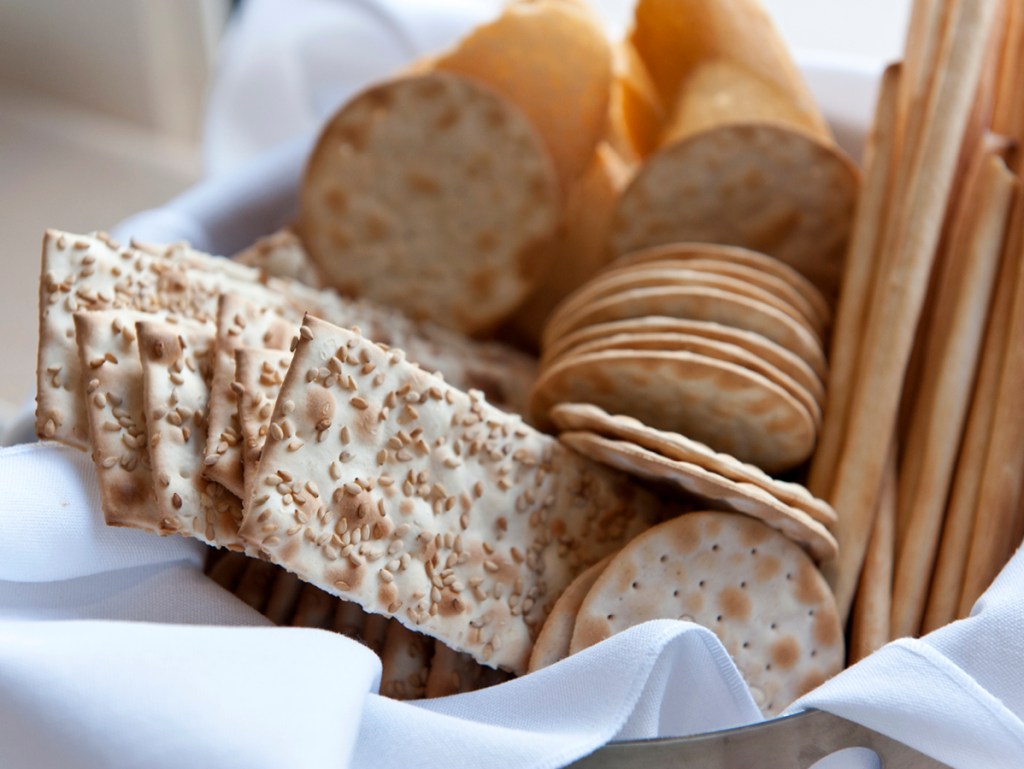
Don’t forget to add a mustard, hummus or other dips to give options. Then finish the ingredients with an artisan bread, thin grain crackers and even plain crackers. Charceuterie is whatever you want it to be, so play around with jams, chutneys and dips. Just don’t overload the board with too many options when two or three of each will do just fine.

#4 – Assembly

When you see an a charcuterie board online, most look like they were put together by an expert, but assembling your own is actually easier than you think. Watch some helpful videos or just jump in and go fot it and let your food muse guide you.

I find it works best if I start by placing the large food items on the board. This will include some of the cheese and meat selections. It may also include the bread, depending on what kind you chose. Next, arrange your bowls of olives, pickles, jams and dips. Then, neatly add anything that’s sliced, rolled, or folded. Once all the bigger items are placed, finish by filling the other spaces with the accents, including the crackers. You can also add grape leaves, sprigs of herbs like rosemary to just do some finishing touches. Your board, your choice!

You will notice I did not include nuts because so many have nut allergies, but feel free to add them to yours if you are good with them.

Cooking, Entertainment, Style

Barbie Pink Cocktail

Barbie is taking the world by storm. I absolutely loved my Barbie, and had all the wonderful clothes, shoes and accessories any Barbie could ever want or need. I can hardly wait to see the movie, but for now I have to settle for this festive Barbie Pink Cocktail.

At work we have celebrated Barbie the past two Friday afternoons, and then again today by our pool. All of our friends have loved the taste of the cocktail.

Here is the recipe so you too can celebrate Barbie too:

1 oz Malibu Rum

1 oz Orange Cointreau

1/2 oz Chambord Raspberry Liqueur

1/2 oz Fresh Lemon Juice

Pellegrino Sparkling Water

Raspberries for garnish

Wilton Pink Sanding Sugar

Get a cute glass like a highball, martini or champagne flute. Wet the edge of the glass with lemon juice or water, your choice, and dip into the pink sanding sugar. It will already look amazing and fun!

Put ice into your cocktail shaker and combine the rum, orange and raspberry liqueurs and lemon juice. Shake, shake, shake until it is icy cold.

Pour into the glass and add a bit of Pellegrino and then garnish with a couple of fresh raspberries.

NOTE: If you don’t want to take the time to shake the cocktails individually, you can multiply the recipe and make a pitcher and put in the refrigerator. When it is cocktail time, put some ice in the glass and pour the cocktail over, then add some Pellegrino and garnish.

If you want your cocktails stronger, add more liquer.

Cooking

Crunchy Sheet Pan Lasagna

I have been a fan of Giada for years, and I have made dozens of her recipes. When I came across this recipe I knew it would be amazing. If you think the best part of lasagna is the crunchy bit on top, then this is a recipe for you.

The first time I make a recipe I follow it completely, this version is what I’ve done over time to make it more to our liking.

16 ounces lasagna noodles broken into 3 pieces
1 pound Italian sausage
2 large shallots diced
2 cloves garlic minced
32 ounces Rao’s Tomato Basil sauce
1 teaspoons Italian seasoning
Salt to taste
1 cups ricotta cheese
5 ounces frozen spinach, thawed and drained
2 cups shredded mozzarella cheese
1 cup grated Parmesan cheese
1/2 cup pasta water
Olive Oil

Instructions

Preheat the oven to 400 degrees.

Bring a large pot of water to a boil and add salt to taste like the sea. Add the broken lasagna noodles and cook for 8 minutes. They will finish cooking in the oven.

In a small bowl mix together the ricotta, drained spinach and salt to taste. Set aside.

While the pasta is cooking, use a large skillet and add a tablespoon of good olive oil. Heat over medium heat and crumble the sausage as you add it to the pan. Let it cook for 3 minutes without stirring so it can get a layer of flavor. Add the shallots and garlic and stir well, breaking up the sausage into smaller pieces, then let it cook another 5 minutes or until the sausage is done. Turn off the heat and add the entire jar of Rao’s (my favorite brand) sauce and the Italian seasoning. Stir well.

Set aside 1/2 cup of the pasta water and then strain the pasta and put back into the pot it cooked in. Pour the sauce mixture over the noodles, add a handful of parmesan and mozzarella cheese, add the 1/2 cup of pasta water and mix well.

Take a 12 x 17 sheet pan and lightly spray with nonstick cooking spray, or grease it with a thin layer of olive oil. Pour the entire mixture onto the sheet pan and spread evenly. Dollop the ricotta mixture onto the top in 6 to 9 places, then sprinkle the rest of the parmesan and mozzarella on top.

Place sheet pan in the preheated oven for 30 minutes. Remove from oven and let stand for 10 minutes.

You can store your leftovers, if there are any, in a lidded container for up to 4 days in the refrigerator. You can also freeze individual portions in the freezer up to 3 months.

NOTE: For the sausage you can use turkey, chicken or pork – mild, sweet, hot or a mix.