I'm Lora, and the posts you will find here are inspired by the people I love and my daily life. I hope you enjoy browsing through my recipes, and reading about my life as a real estate agent, DIY wannabe, and wife of a retired Marine.
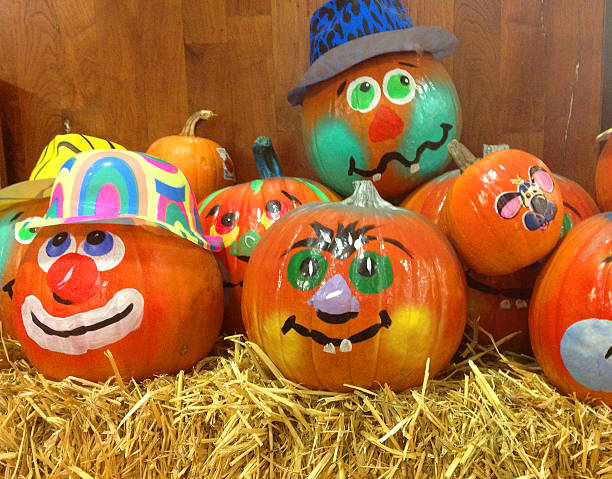
Painted pumpkins are the complete package! They have style, provide enjoyment for all ages, require no carving skills, and there are no slimy pumpkin innards involved.
Here’s what you will need:
Pumpkins, real or artificial, whatever size, shape or color you prefer.
Acrylic paint – choose colors you love.
Sharpee markers.
Painter’s tape.
Assorted painting tools like brushes, sponges, and don’t forget fingers are great tools too.
Something to put the paint on – paper plates work great.
Don’t skip coveringt the table. You can use a plastic tablecloth, craft paper, newspaper or whatever.
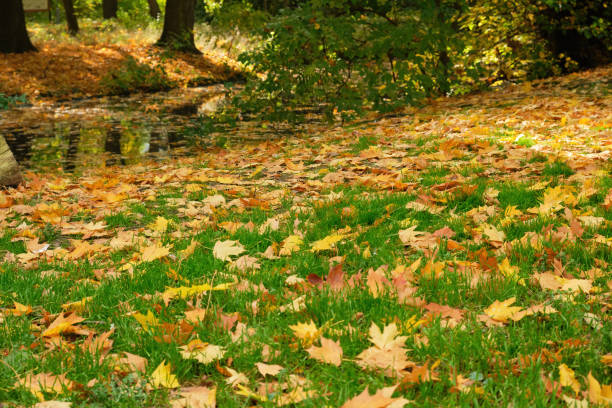
The beautiful colors of autumn leaves on trees is one thing, its another when they all fall to the ground and overtake your lawn. Cleaning them up can be tedious, but there are helpful tips that will make the task more efficient.
Leaf Removal
It’s a great idea to give your townhall a call to see if they have any leaf removal services. You can also use a lawnmower to mulch leaves, and then spread the mulch around your lawn to feed your grass, or put it on your garden to enrich the soil.
Leaf Raking
Raking leaves takes patience. It is best to wait until almost all the leaves have fallen, this way you don’t have to do it multiple times through the season. I read an article that suggested bending at your knees when picking leaves up, and when raking stand straight instead of hunching over.
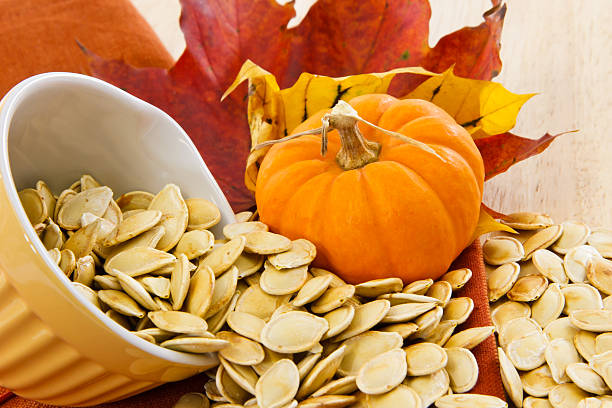
Now that the pumpkins are carved, what can I do with all these seeds? Pumpkin seeds make a great healthy snack! They deliciously take on flavor, everything from sweet to savory. Here are some easy recipe suggestions for you to try.
For all of the savory flavors (breadstick, maple spice, and dill pickle), coat the seeds with olive oil, sprinkle on the seasoning, and bake on a parchment-lined baking sheet at 300°F for 20–30 minutes.
Breadstick Roasted Pumpkin Seeds
1 teaspoon olive oil 1 teaspoon grated Parmesan cheese ½ teaspoon basil ½ teaspoon oregano ¼ teaspoon sea salt ⅛ teaspoon garlic powder
Maple Spice Roasted Pumpkin Seeds
1 teaspoon olive oil 2 tablespoons pure maple syrup 1½ teaspoon chili powder ½ teaspoon ground cumin ½ teaspoon fine salt
Dill Pickle Roasted Pumpkin Seeds
1 teaspoon olive oil 1 teaspoon white vinegar 1 teaspoon dill ½ teaspoon garlic powder ½ teaspoon sea salt ⅛ teaspoon black pepper
For the sweet flavors (cinnamon-sugar and cup of joe), coat with melted butter bake and place on a parchment-lined baking sheet at 300°F for 20–30 minutes.
Cinnamon Sugar Roasted Pumpkin Seeds
1 tablespoon butter ½ teaspoon cinnamon 1 tablespoon brown sugar Pinch of salt